I've always enjoyed practical projects, those requiring just hands, brain and some simple tools... making stuff, renovating stuff and generally making do and mending stuff.
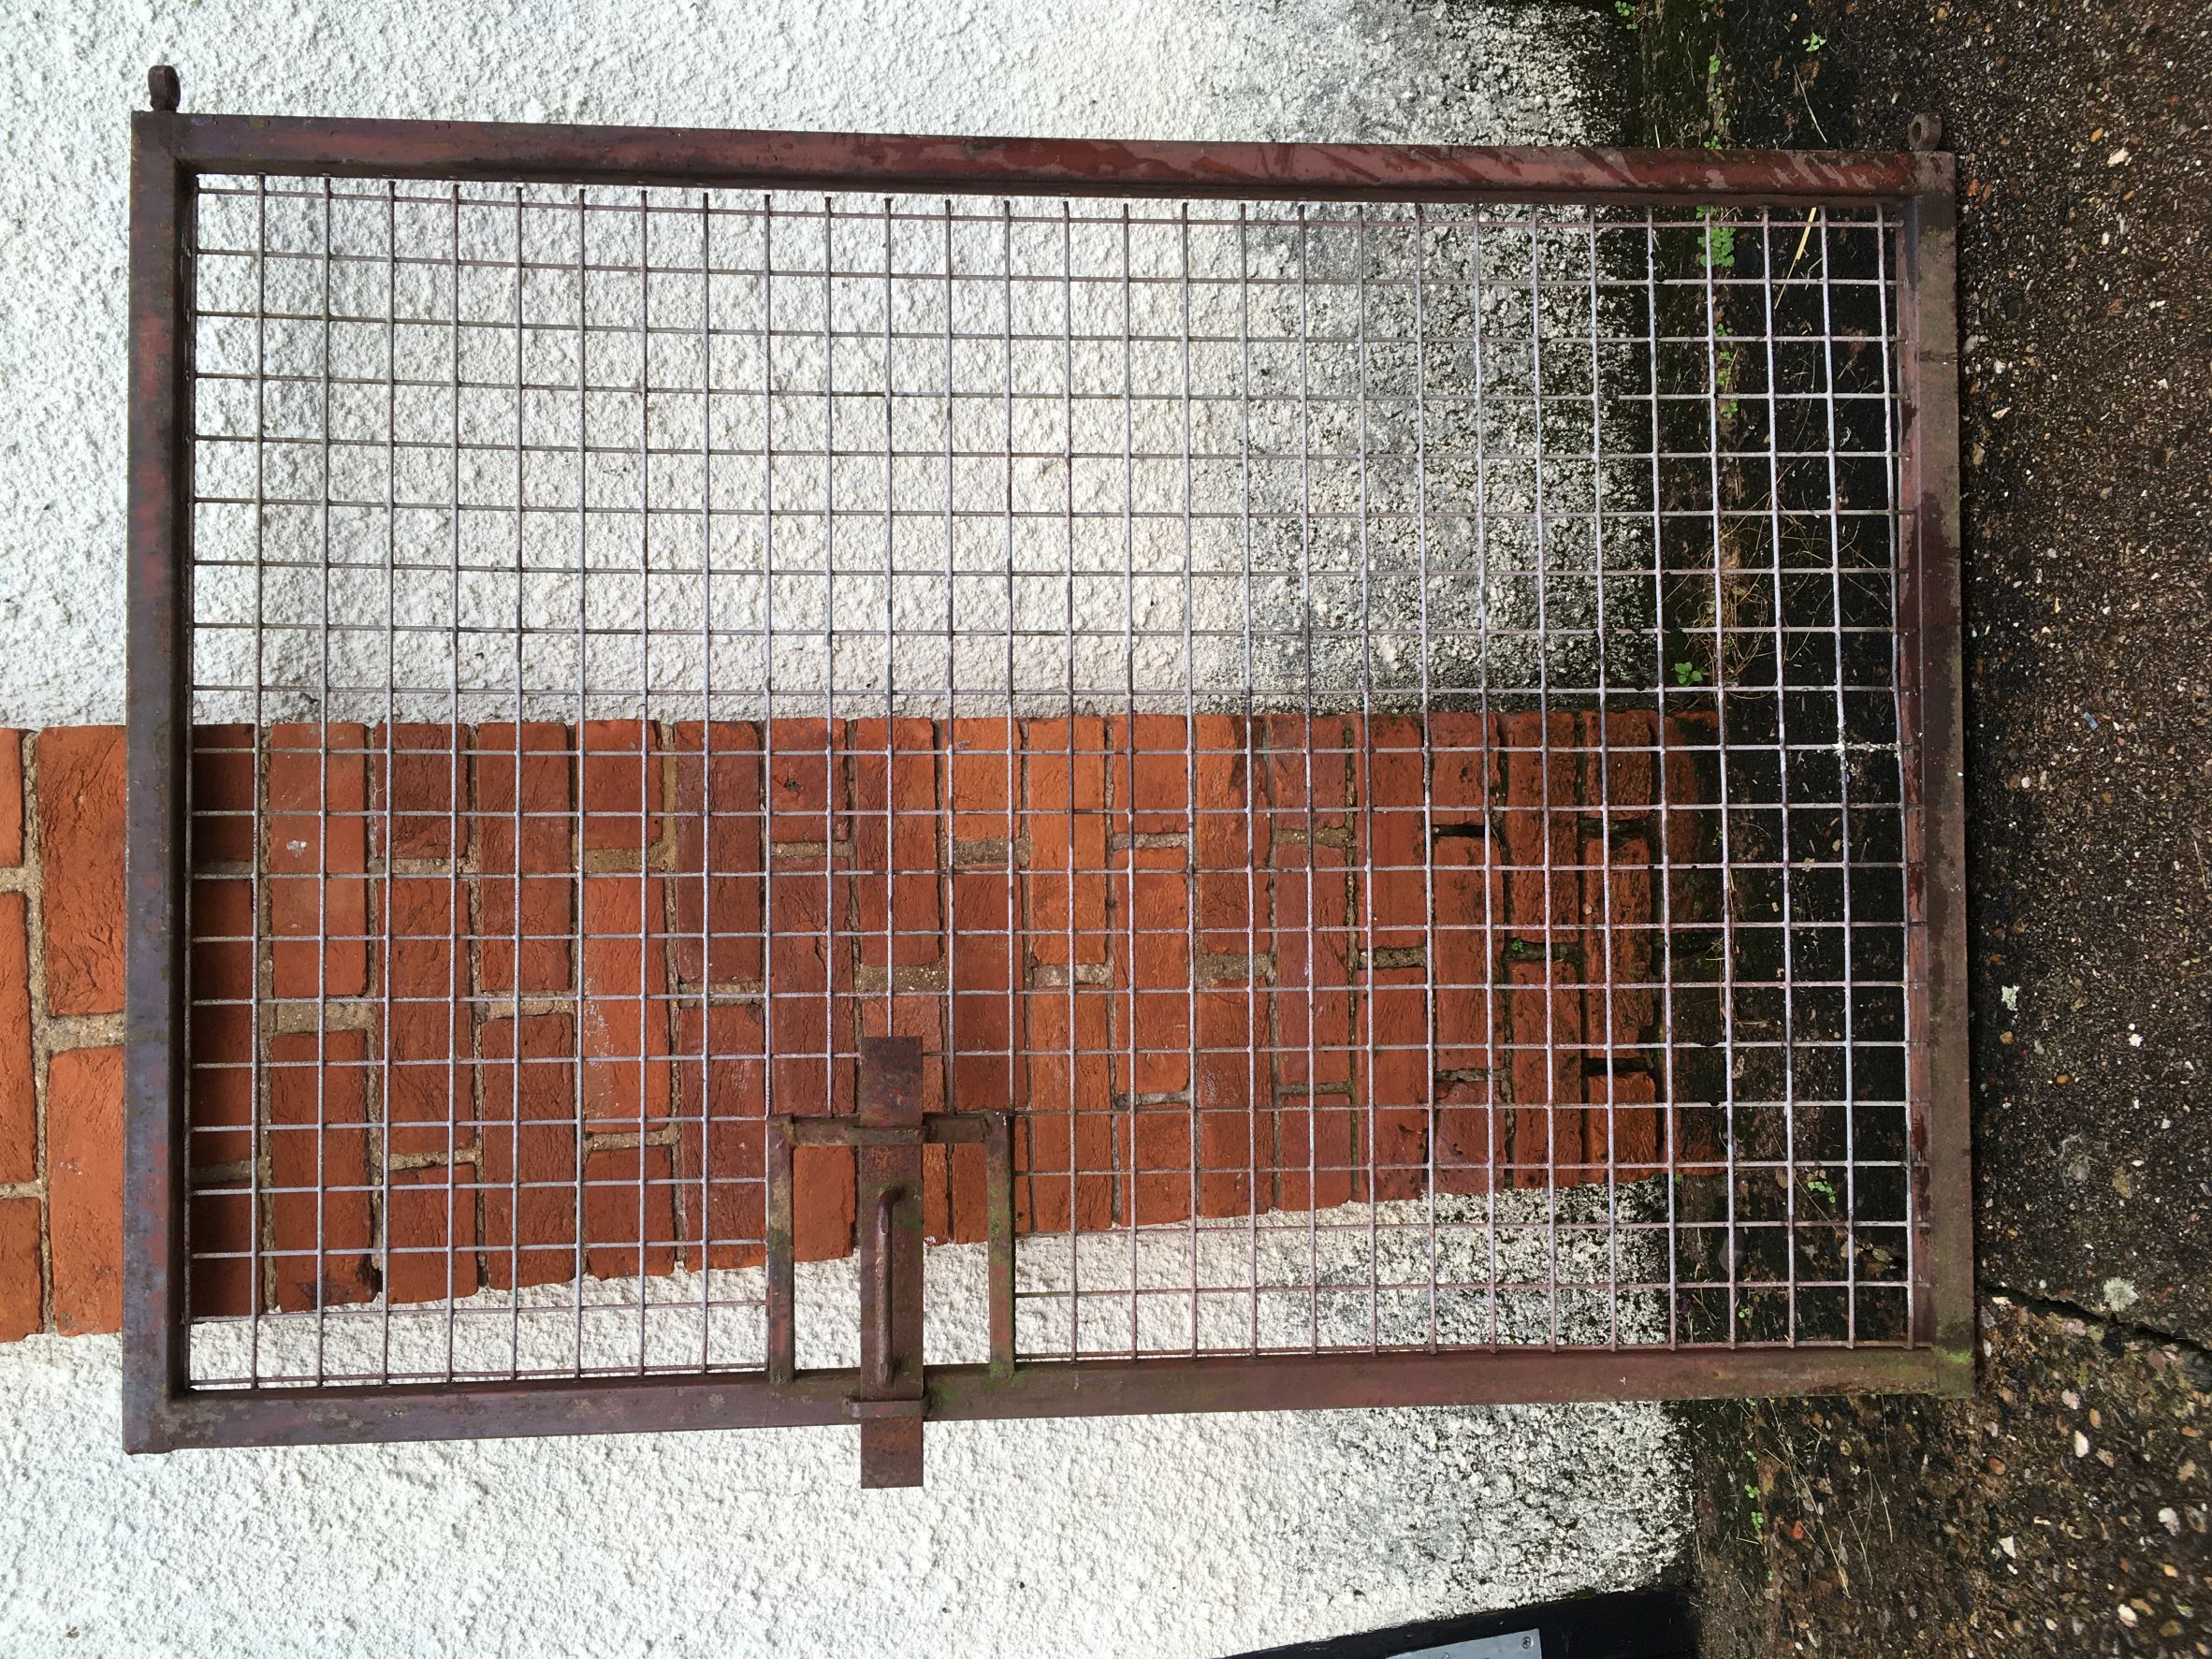
Something that has been on my 'To Do' list for a while is to improve our rather uninspiring garden gate (below)..
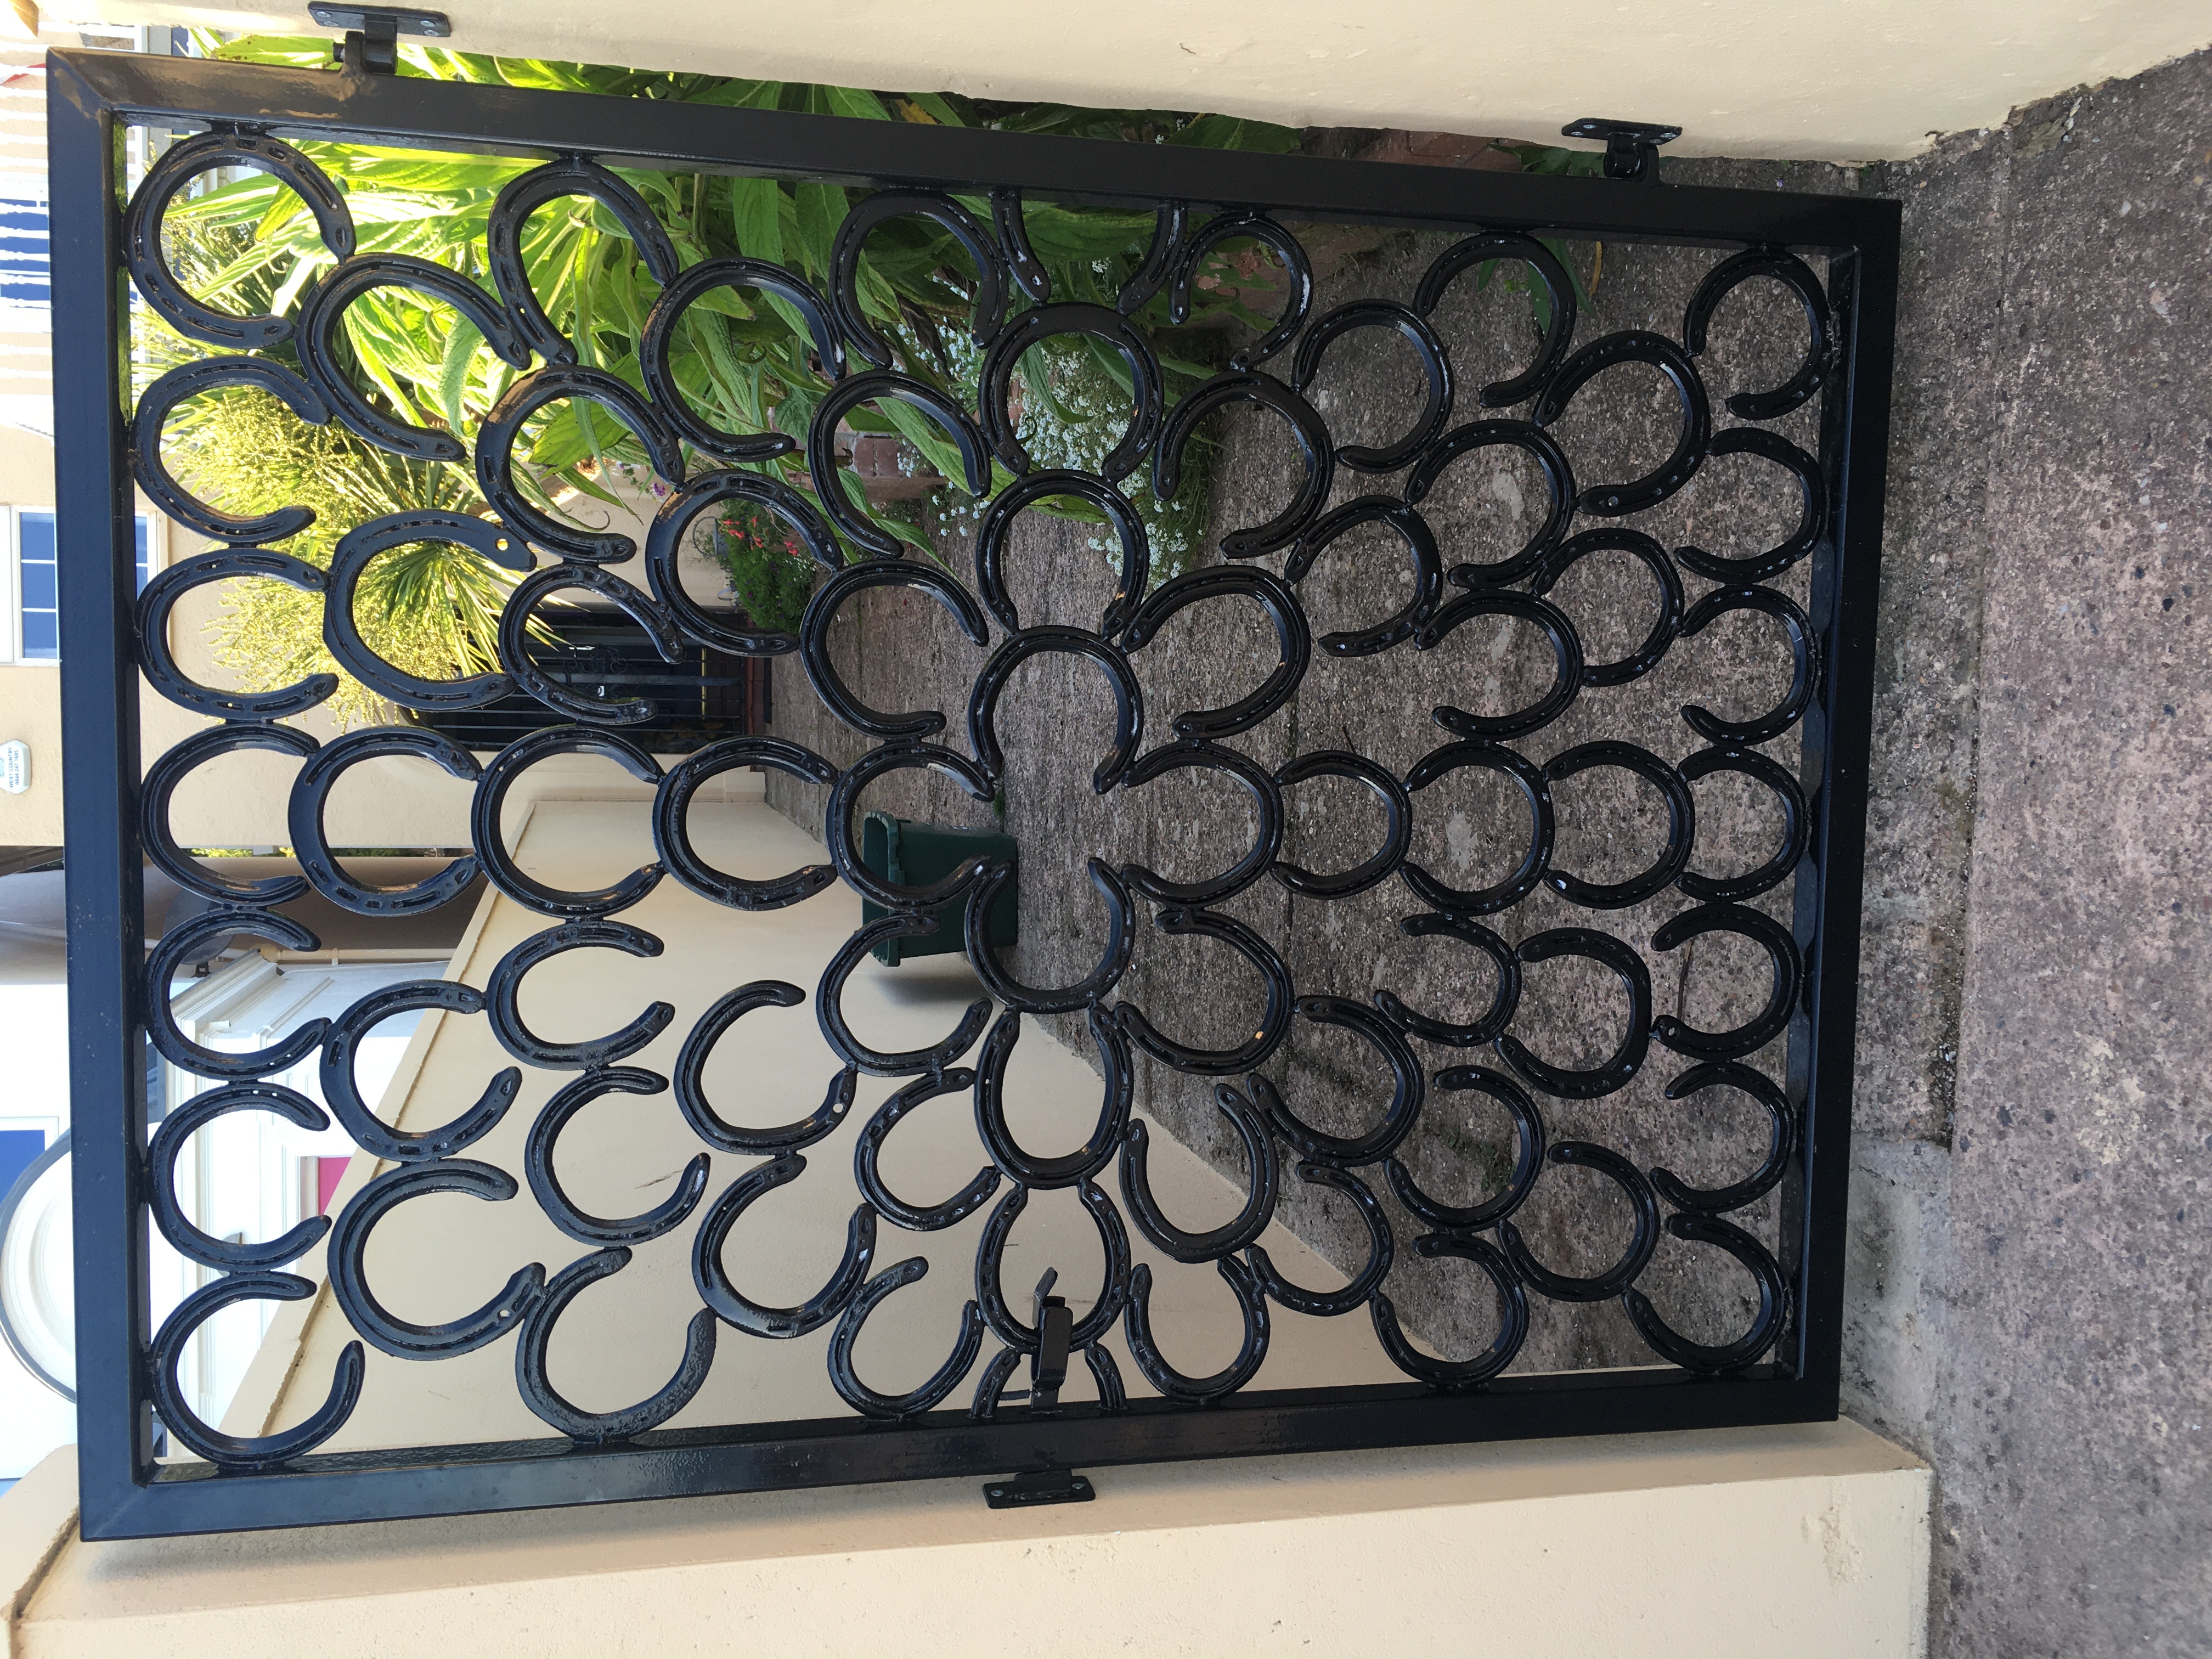
and with the help of some horseshoes, to hopefully create something like this...
It's going to be one of those trial and error projects but I think I have most of the materials required (gate frame plus horseshoes) and most of the tools required. I've also done a bit of welding in the past which will probably help.
1. Prepare the gate frame
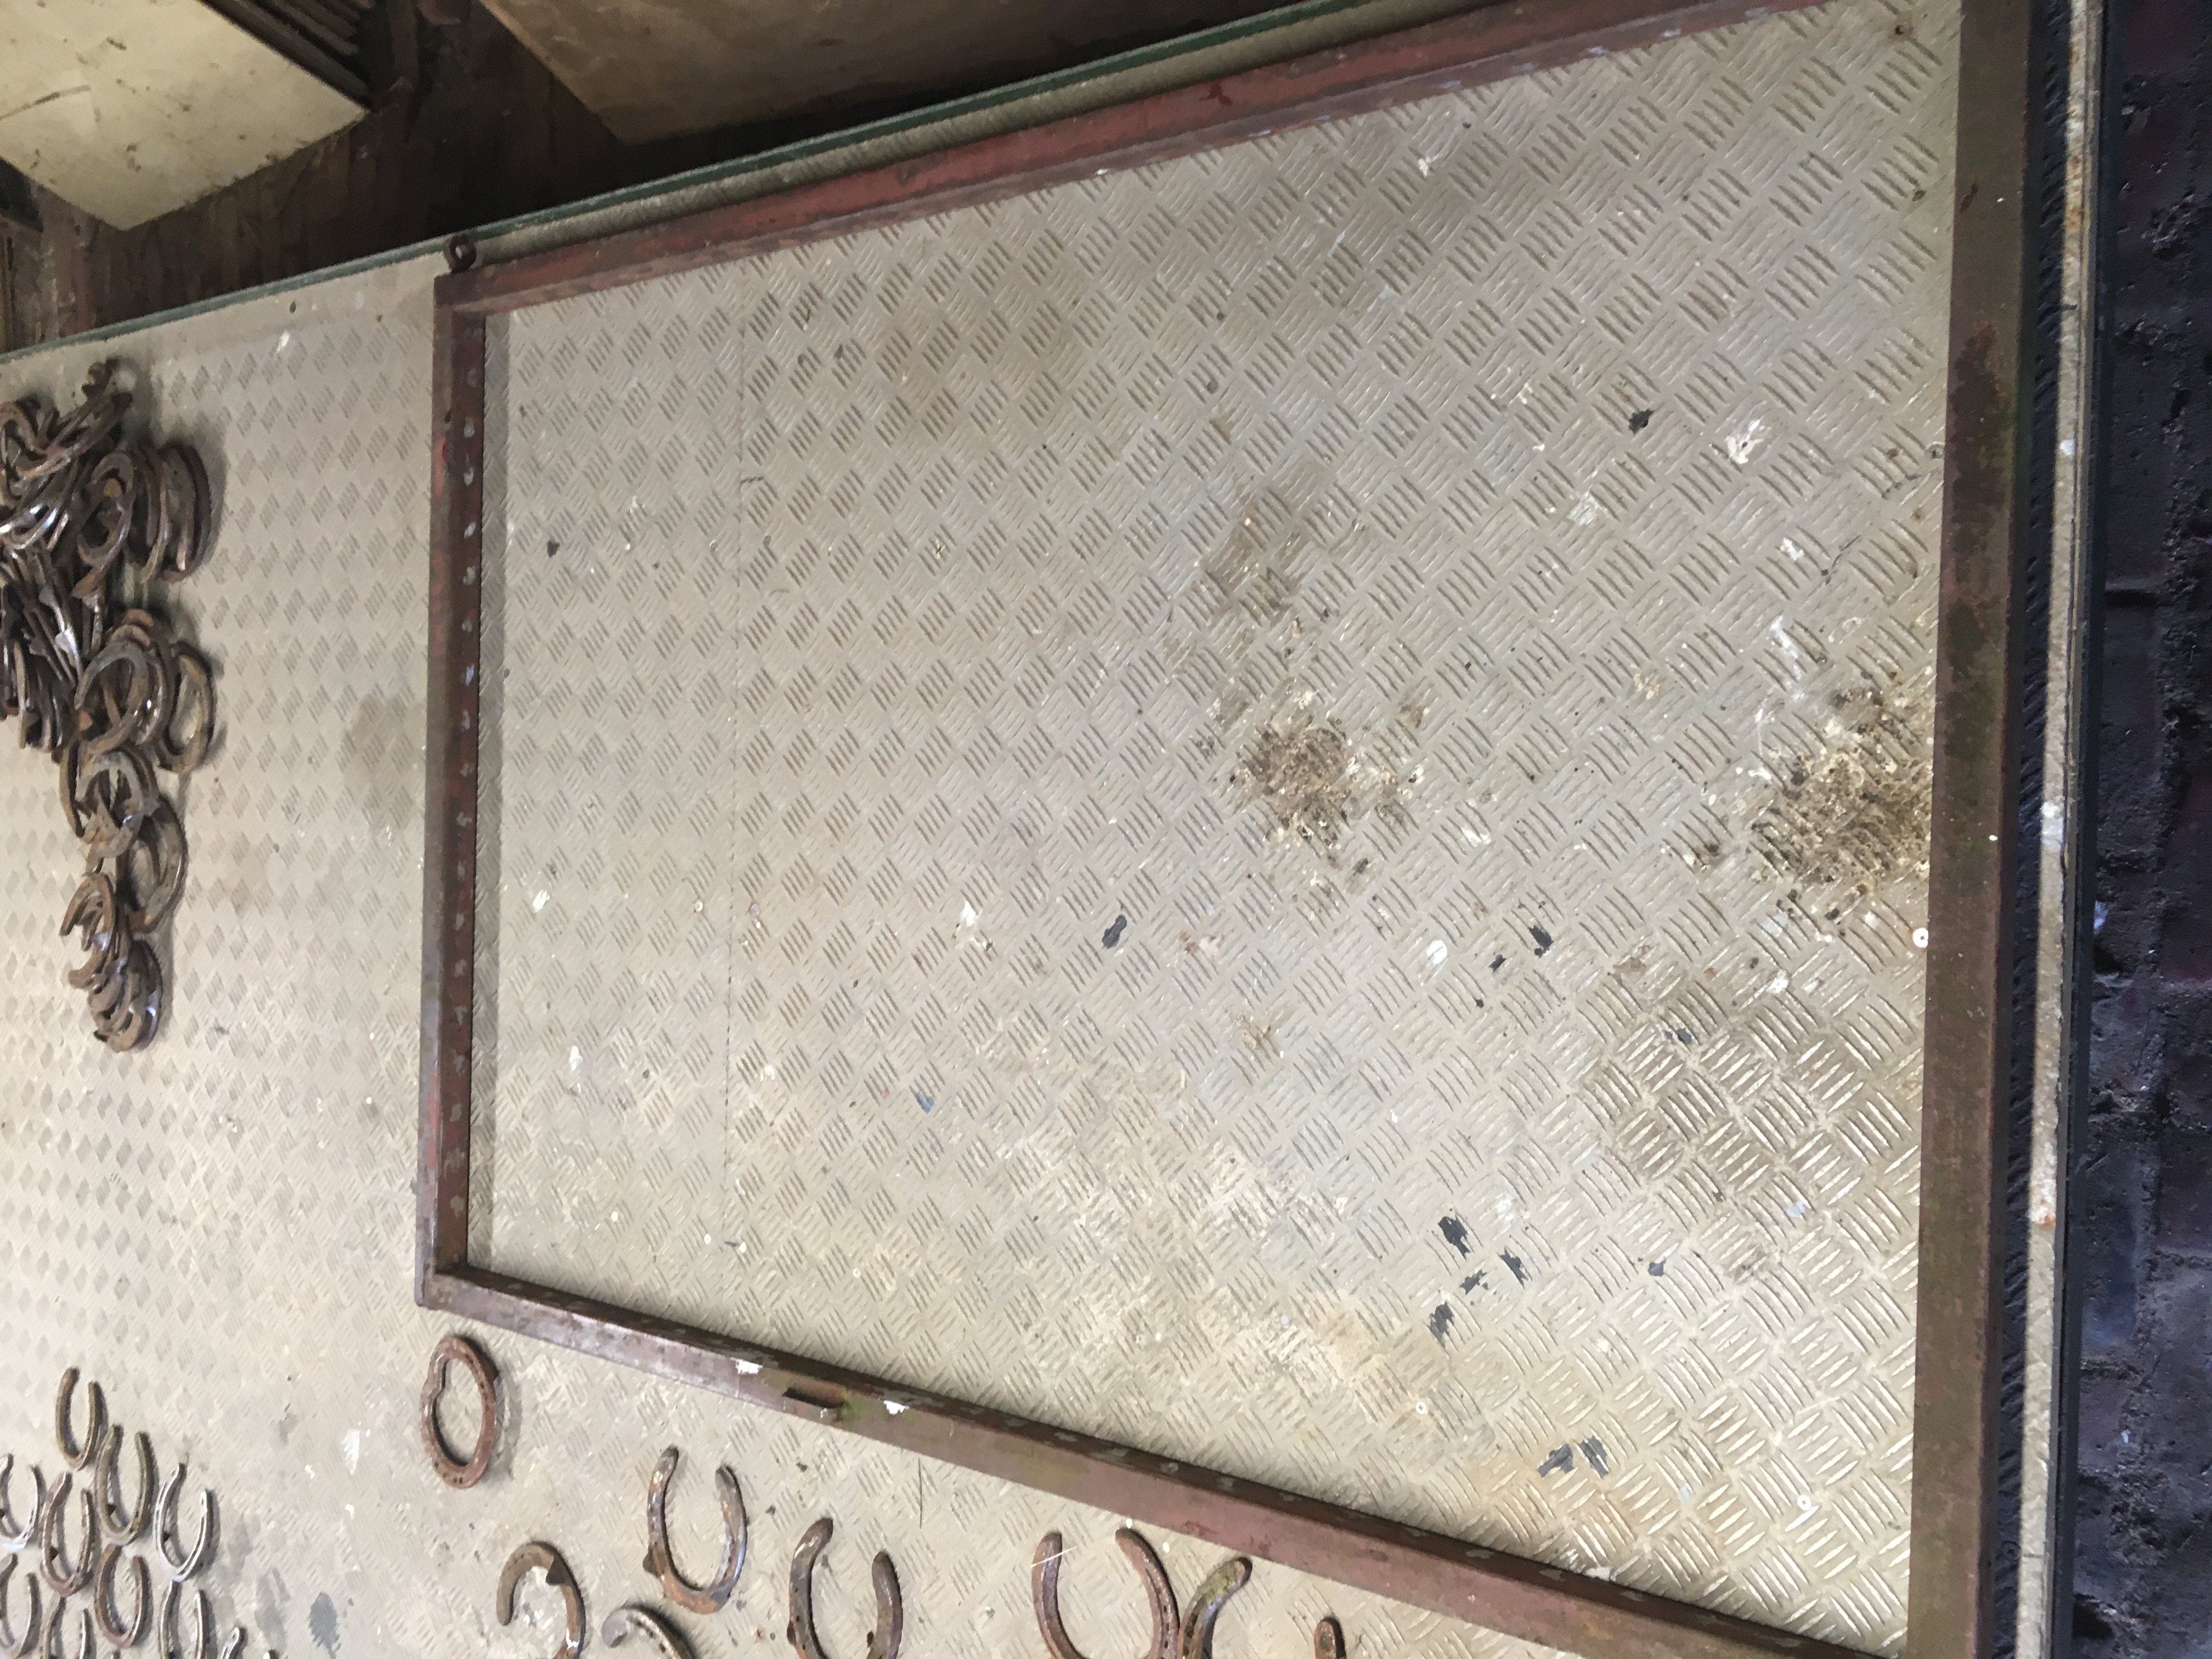
I've taken my old gate and carefully cut off the weld mesh squares with an angle grinder to leave just the frame.
2. Get some horseshoes
Luckily, my wife has a horse, so during a regular farrier visit I asked Adam the farrier if he would donate some old horseshoes. Sometimes farriers will leave the worn shoes behind for their customers to dispose of but they will often take them away and save them up to sell as scrap iron. I had worked out roughly how many horseshoes I needed and realized it would have taken a few years to wait for enough from one horse being shod every 8 weeks. Thankfully, Adam had loads, and was a very obliging, so we made sure I had about 25% more than needed to allow for differences in size and shapes.
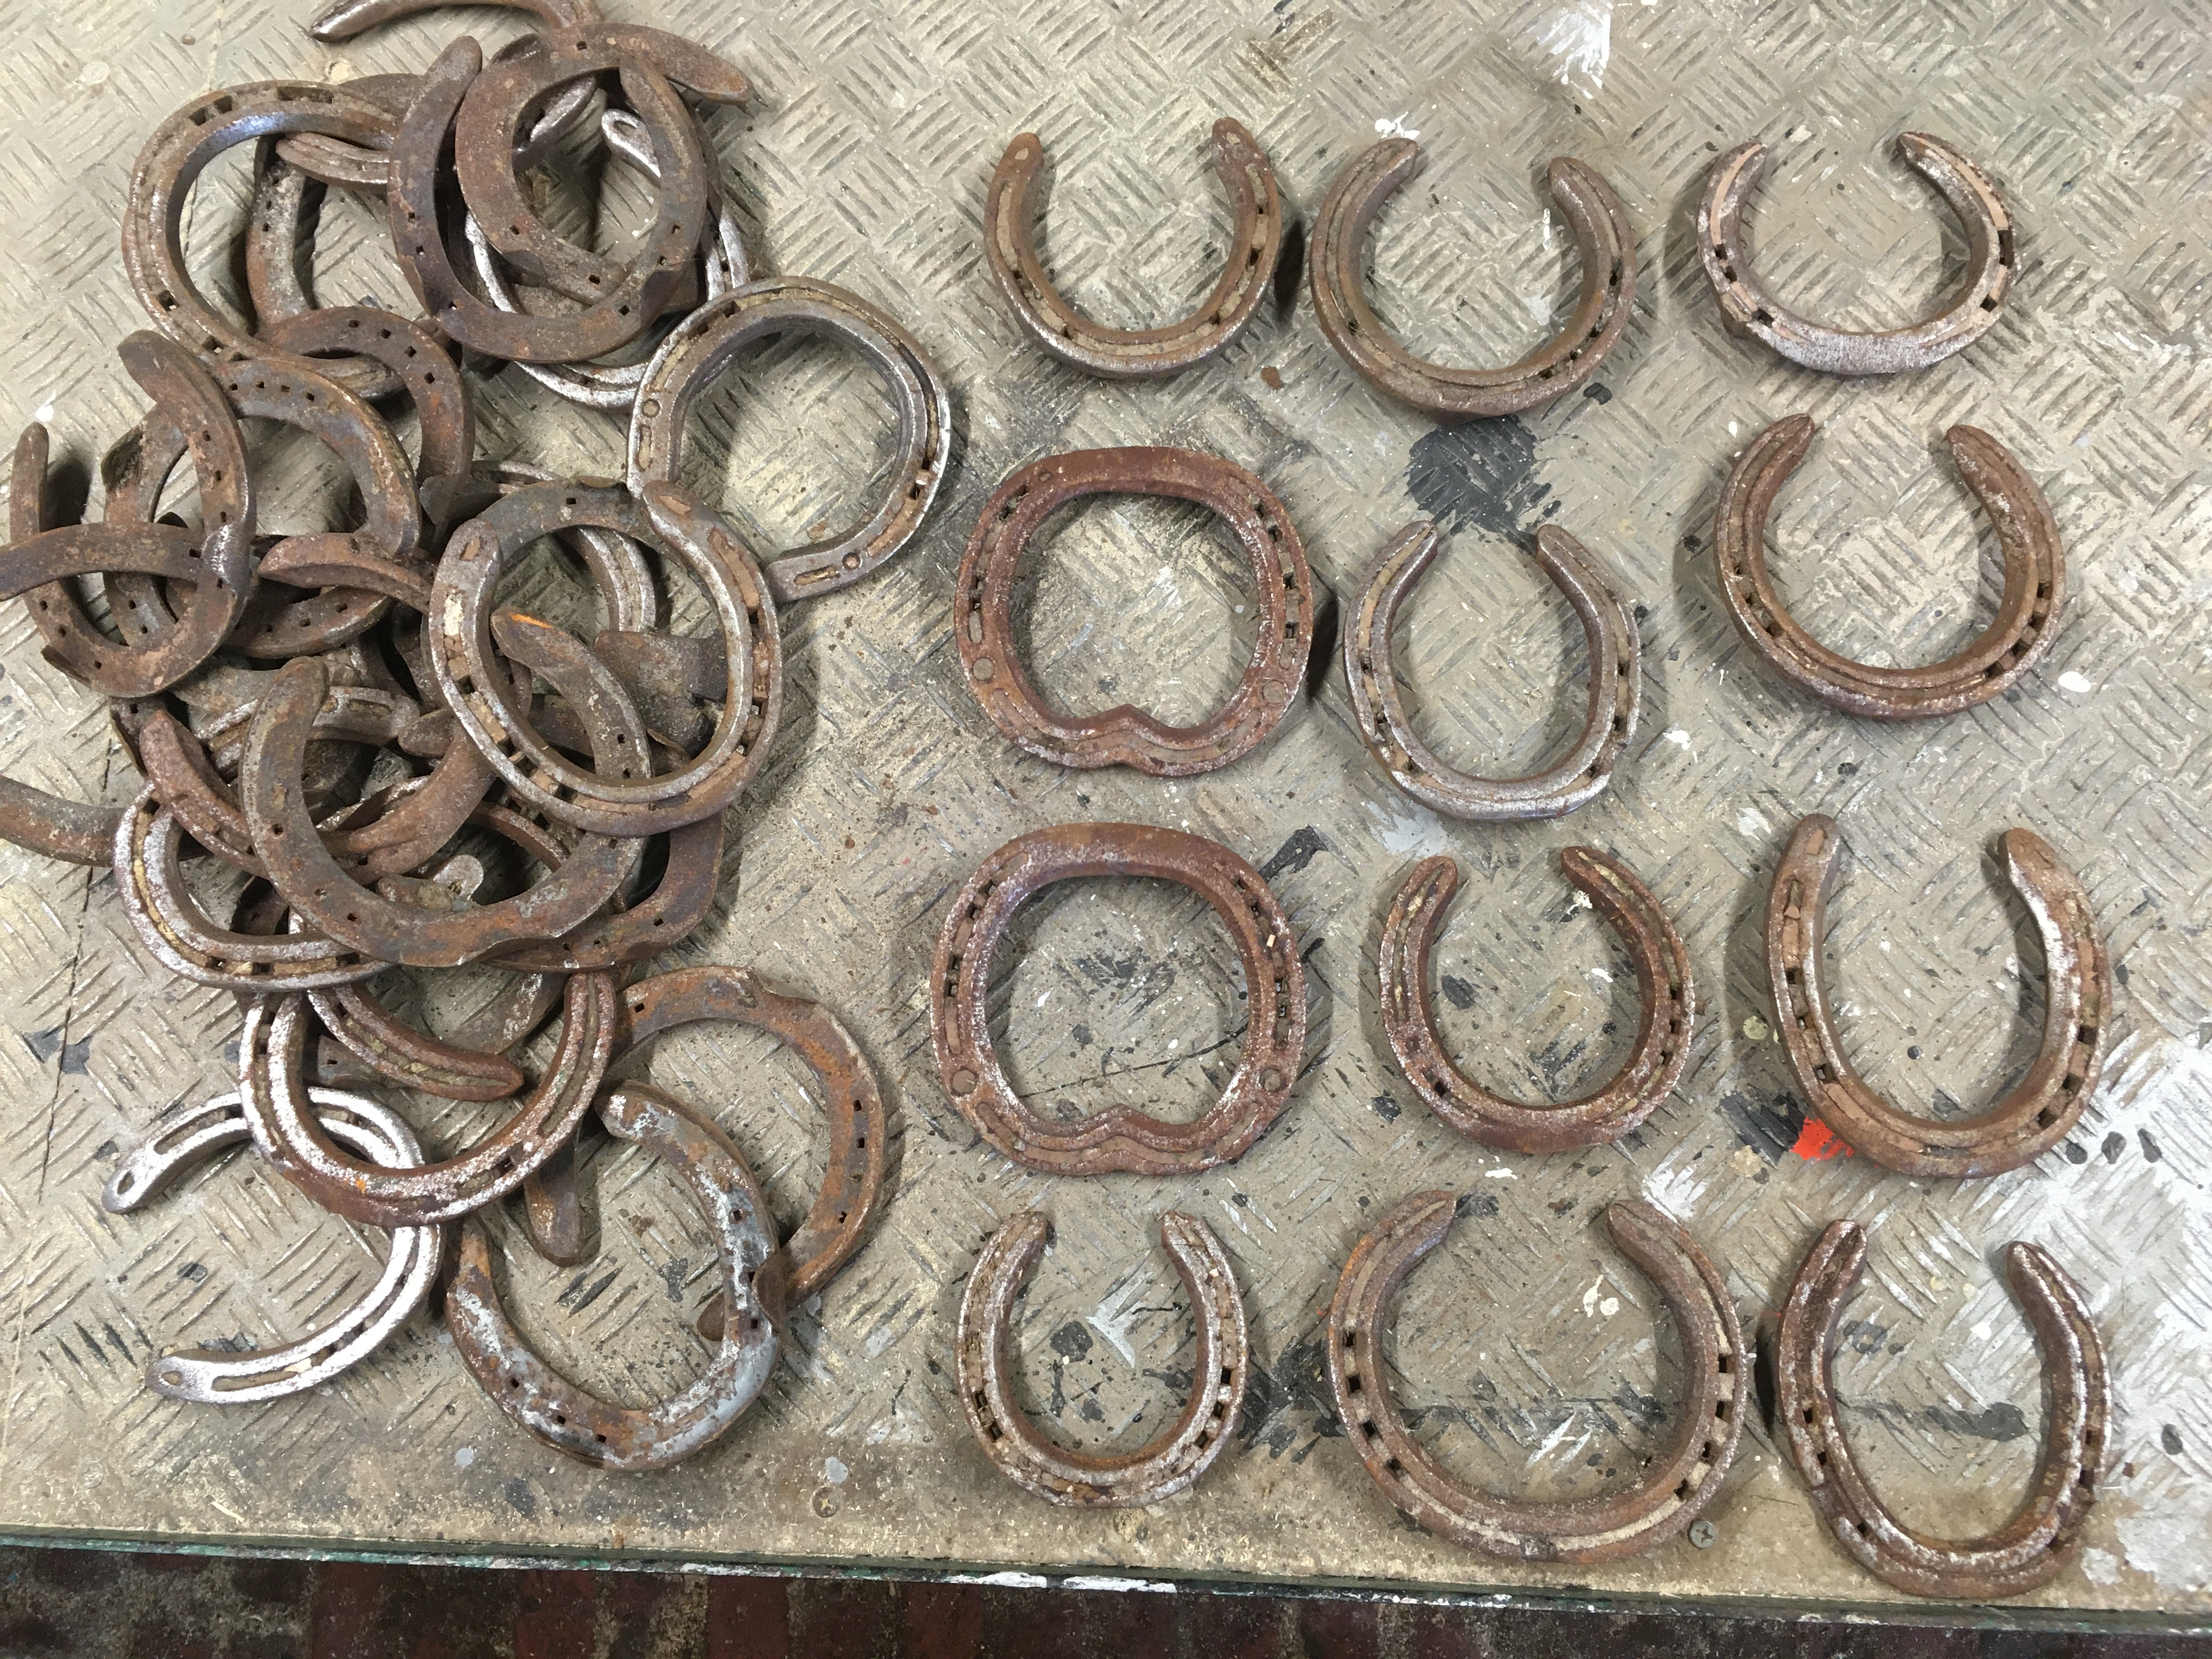
3. Prepare the horseshoes
Horseshoes come in different shapes and sizes so it's helpful to lay them out and sort them by size. Whilst doing this I was able to remove any nails left behind in the old shoes. Sometimes these could be wiggled or pulled out with pliers but it was often helpful to have a small angle grinder to cut off the really bent and twisted ones.
Horseshoes also have a front and back (top or bottom) face to them which look different. One side has a recessed grove where the nails holding the shoe on the hoof will sit so that not protruding. The other side, which goes against the hoof, is flat. Thinking ahead to the finished gate I felt I needed to have all the shoes facing the same way and to decide which face of the horseshoes was going to be looking out as people approached the gate for the first time.
4. Work out a design
The next job was to work out a design for the horseshoes for the finished gate. I guess the options are unlimited but, if possible, I wanted to keep it simple and striking but I was also thinking about the need to make it structurally sound. I wanted to end up with a gate where the horseshoes were rigid and secure and formed a strong central panel. To do this I reckoned on needing as many points of contact, where shoes can be welded together, as possible.
After messing around with a few ideas I came up with this...
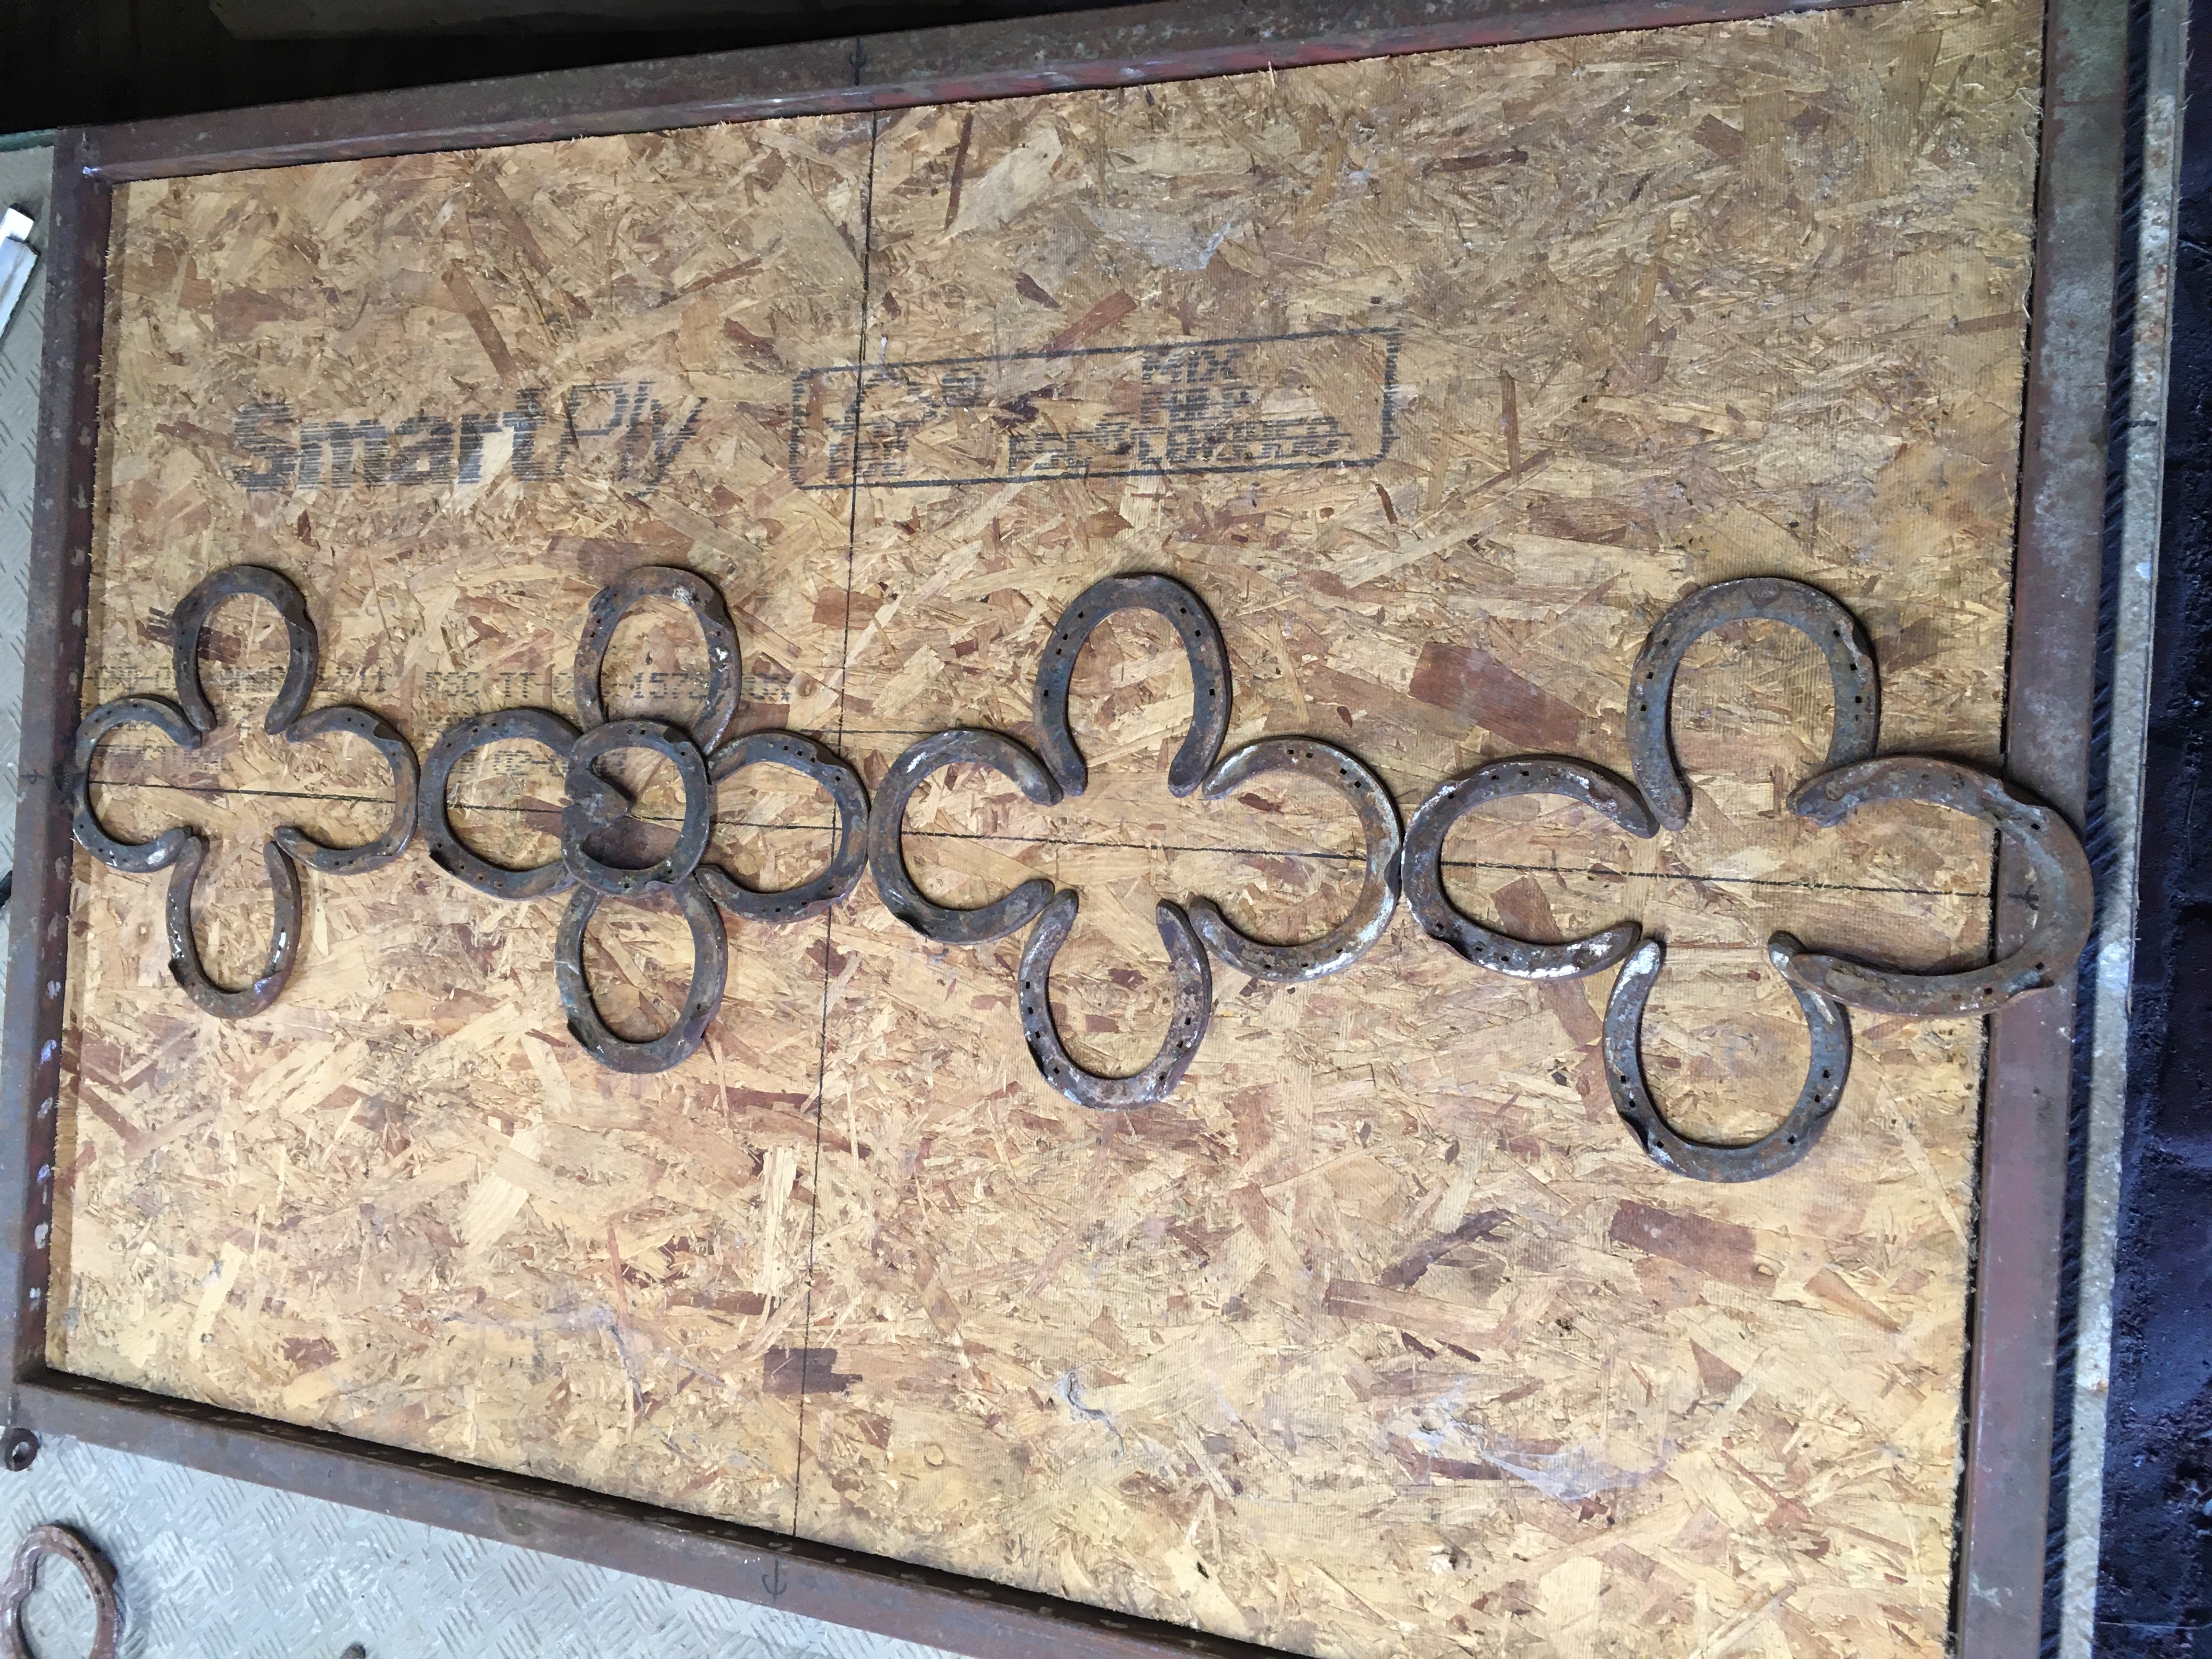
I decided to mark out some lines on a back board, to help with positioning and symmetry. Developing the pattern a bit further I came up with this...
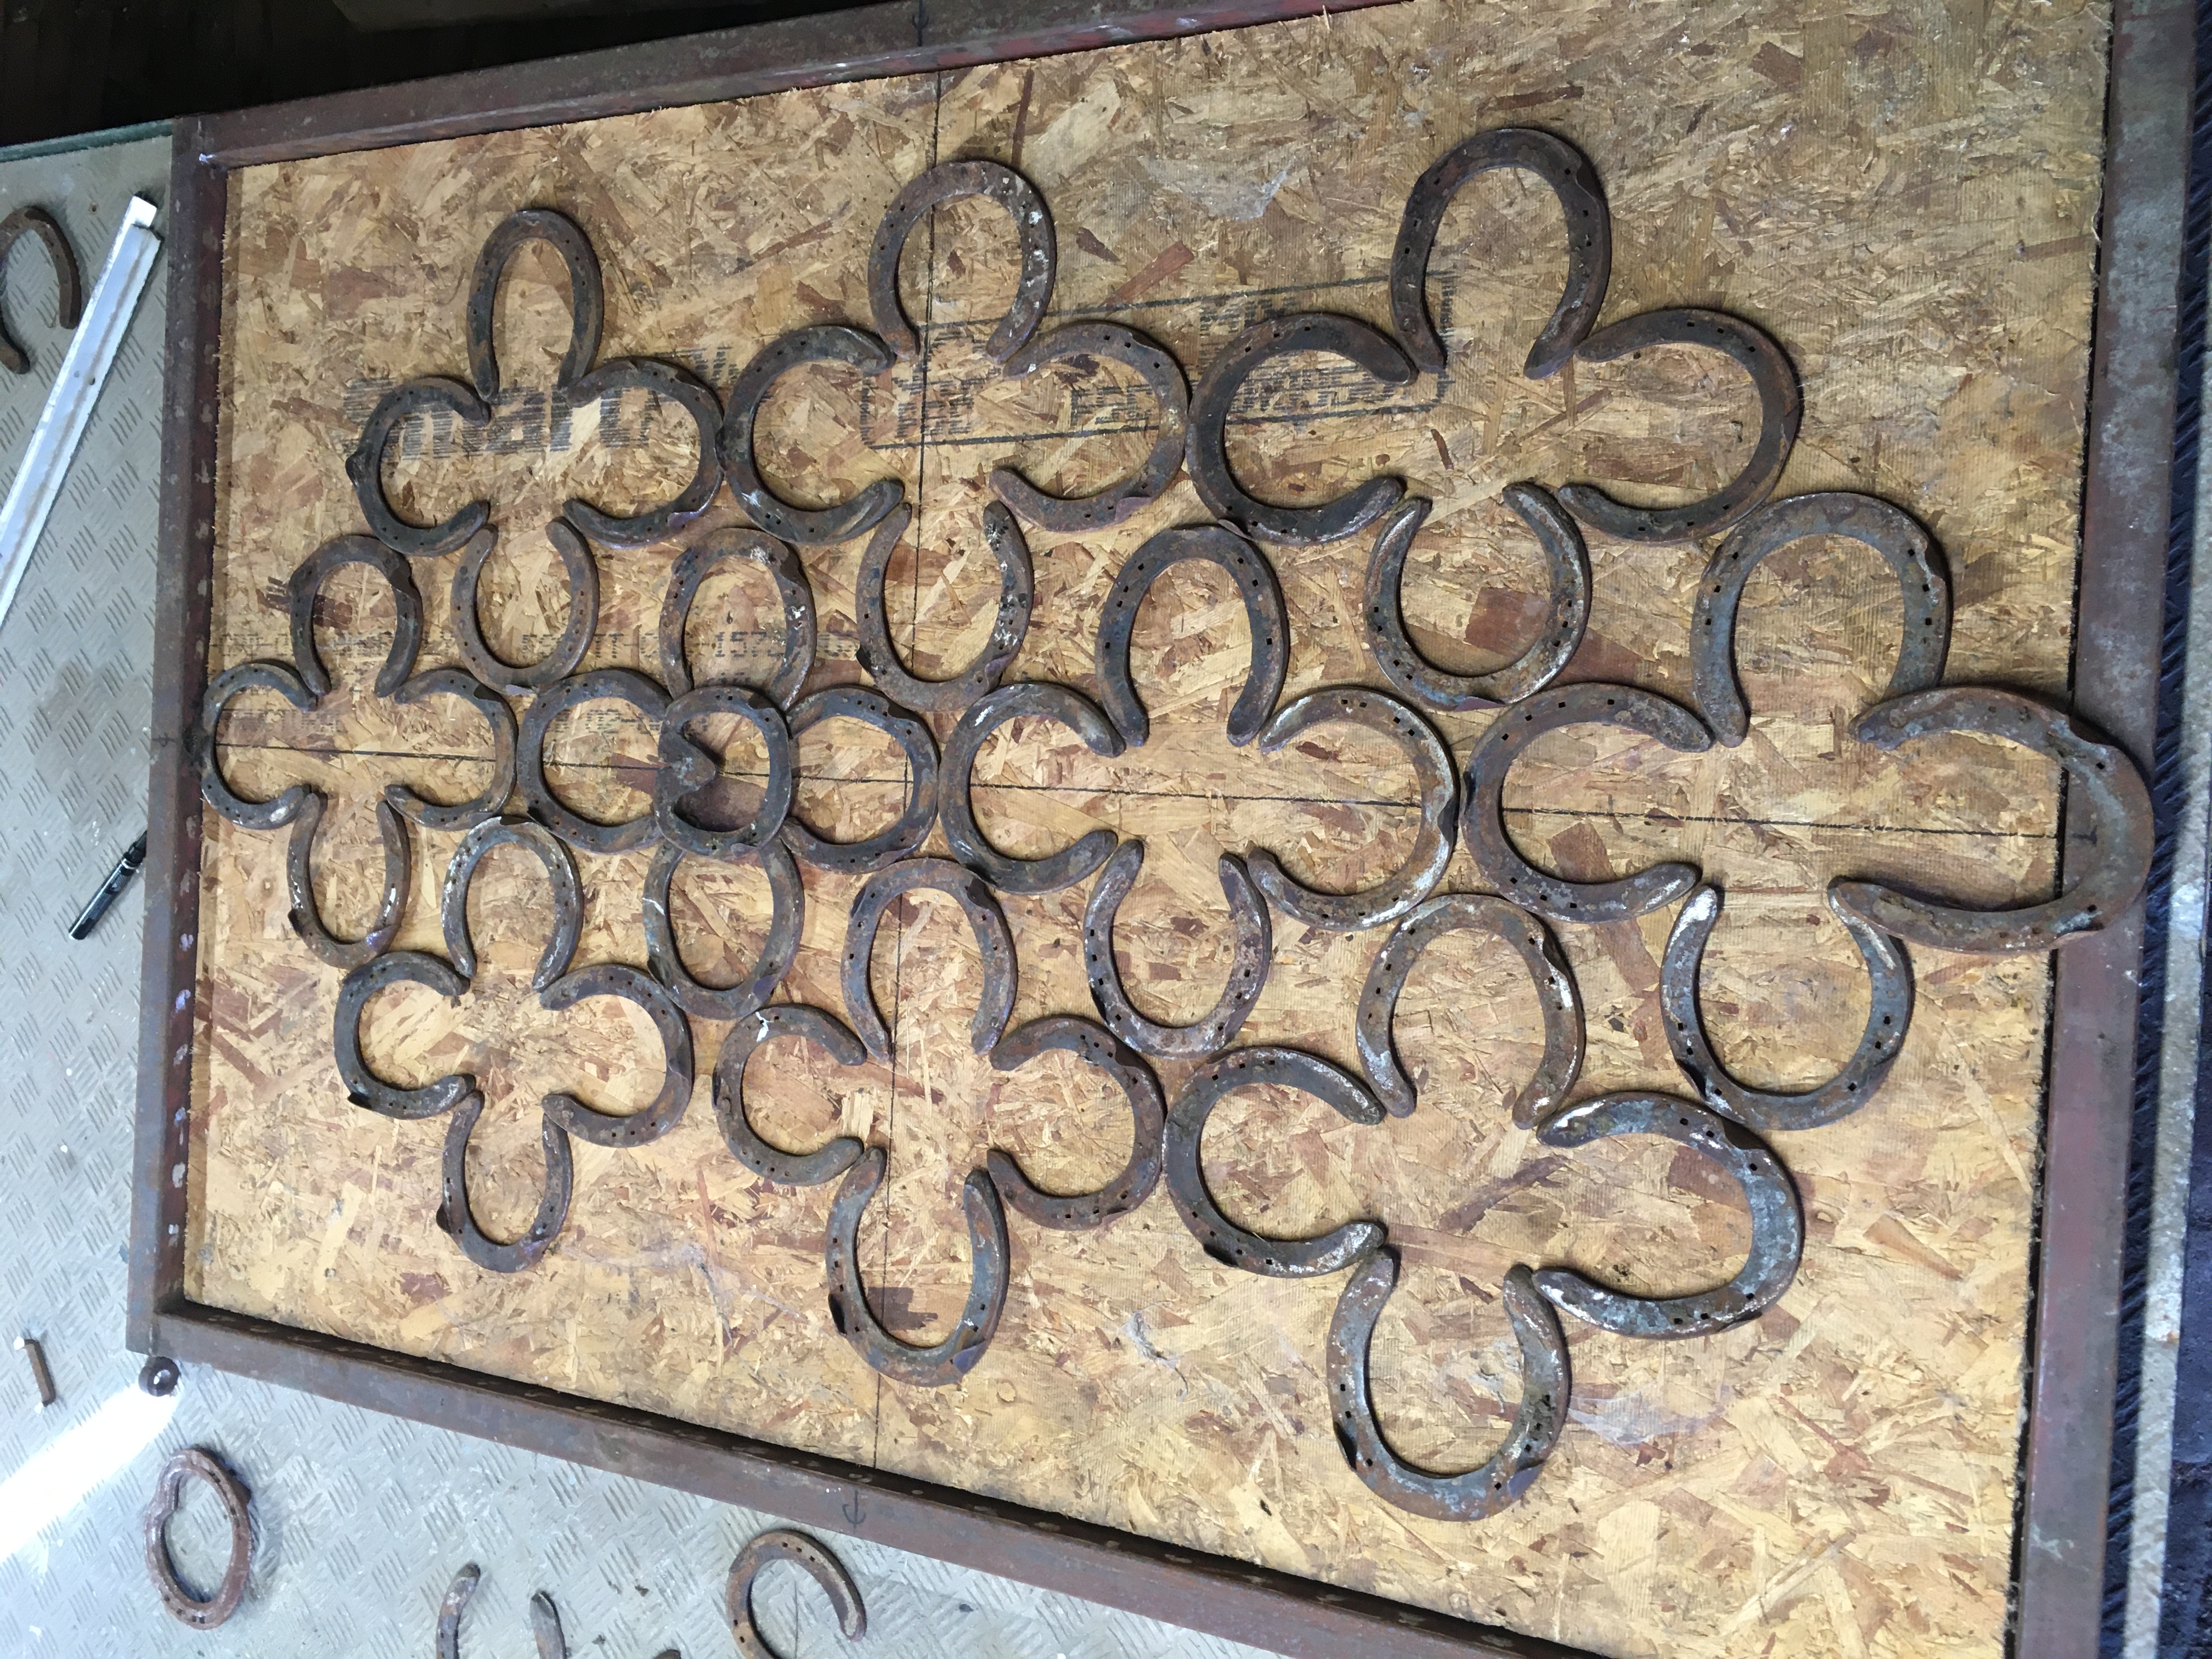
The hardest part I found, when trying to make a symmetrical type pattern, is that the horseshoes are all different shapes, lengths and widths so there is a lot of shuffling around required. If they were all exactly the same size and shape it would be a lot easier. I was never going to get it perfect (which is frustrating for a perfectionist) but, eventually, after a lot of swapping and changing around I came up with this...
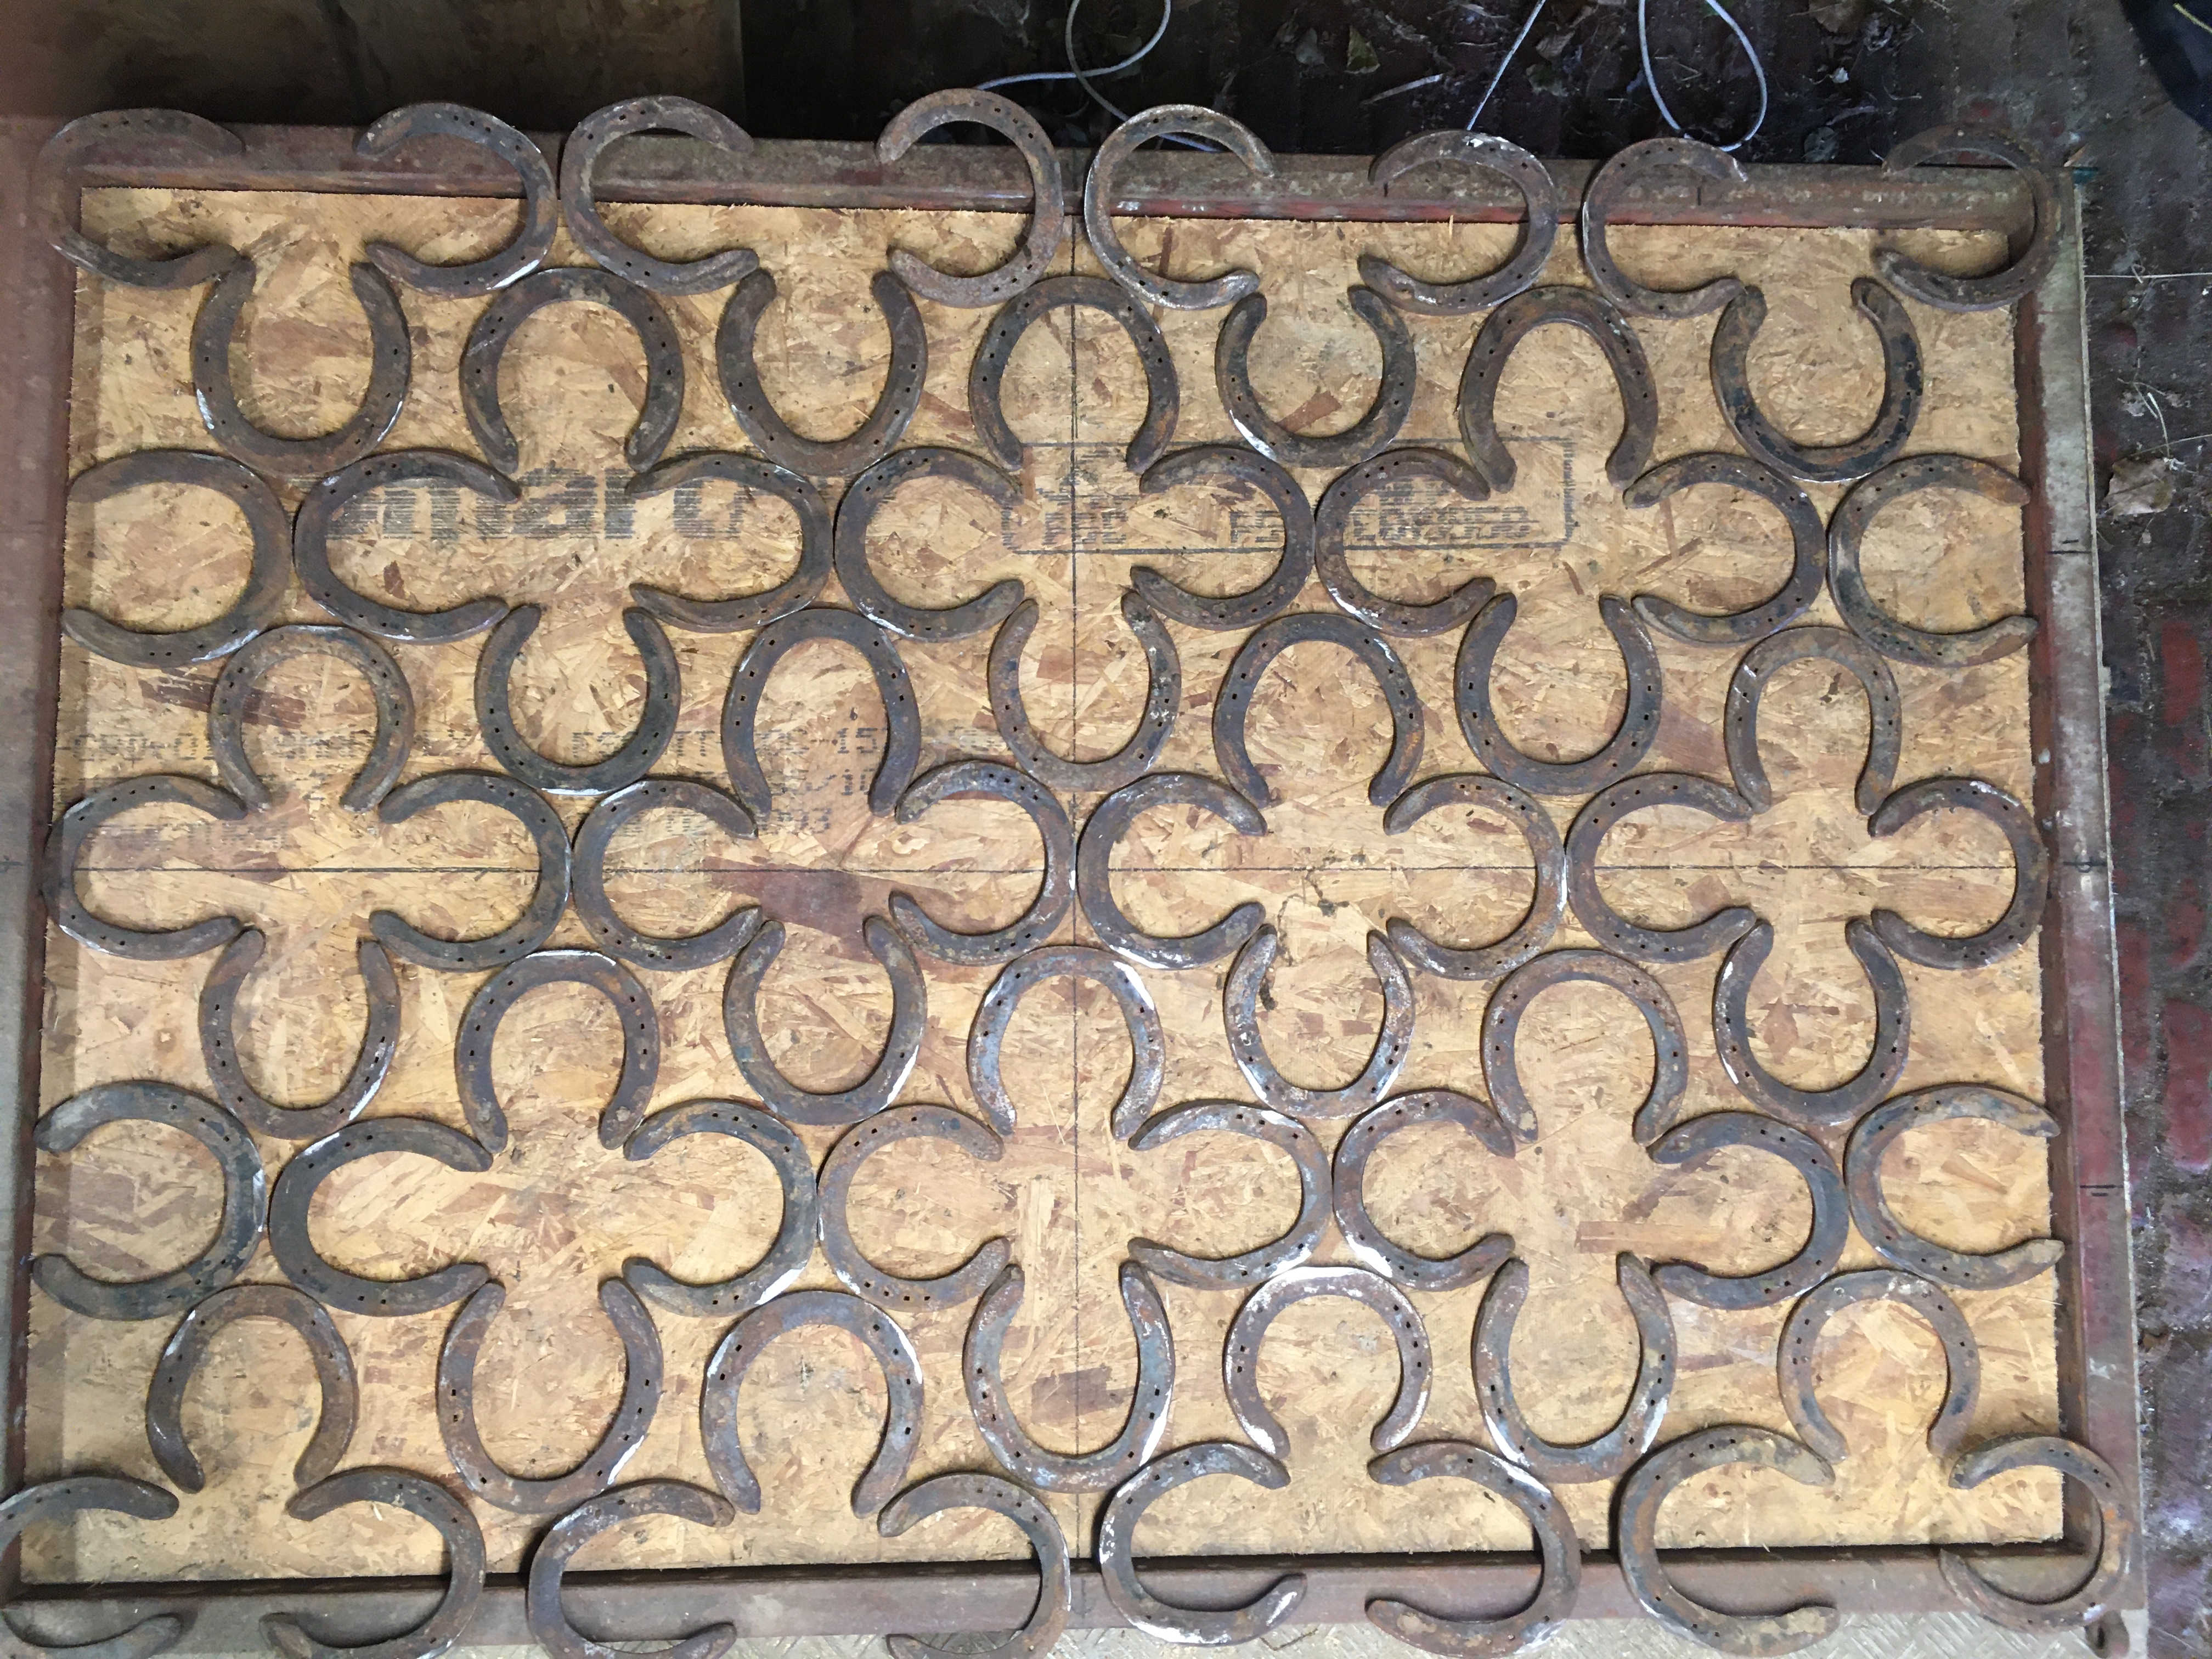
Some of the shoes around the edges will have to be cut to fit the frame but I don't think that will be a problem.
5. Cut off the clips
Horseshoes are basically a flat'ish 2 dimensional length of iron, about 10mm thick, but they will normally have some 'toe clips' sticking out at right angles. There may be one or two toe clips on each shoe. Generally two clips on a back shoe and one on a front shoe. These are present to stop the shoes slipping when fixed on the horses hoof.
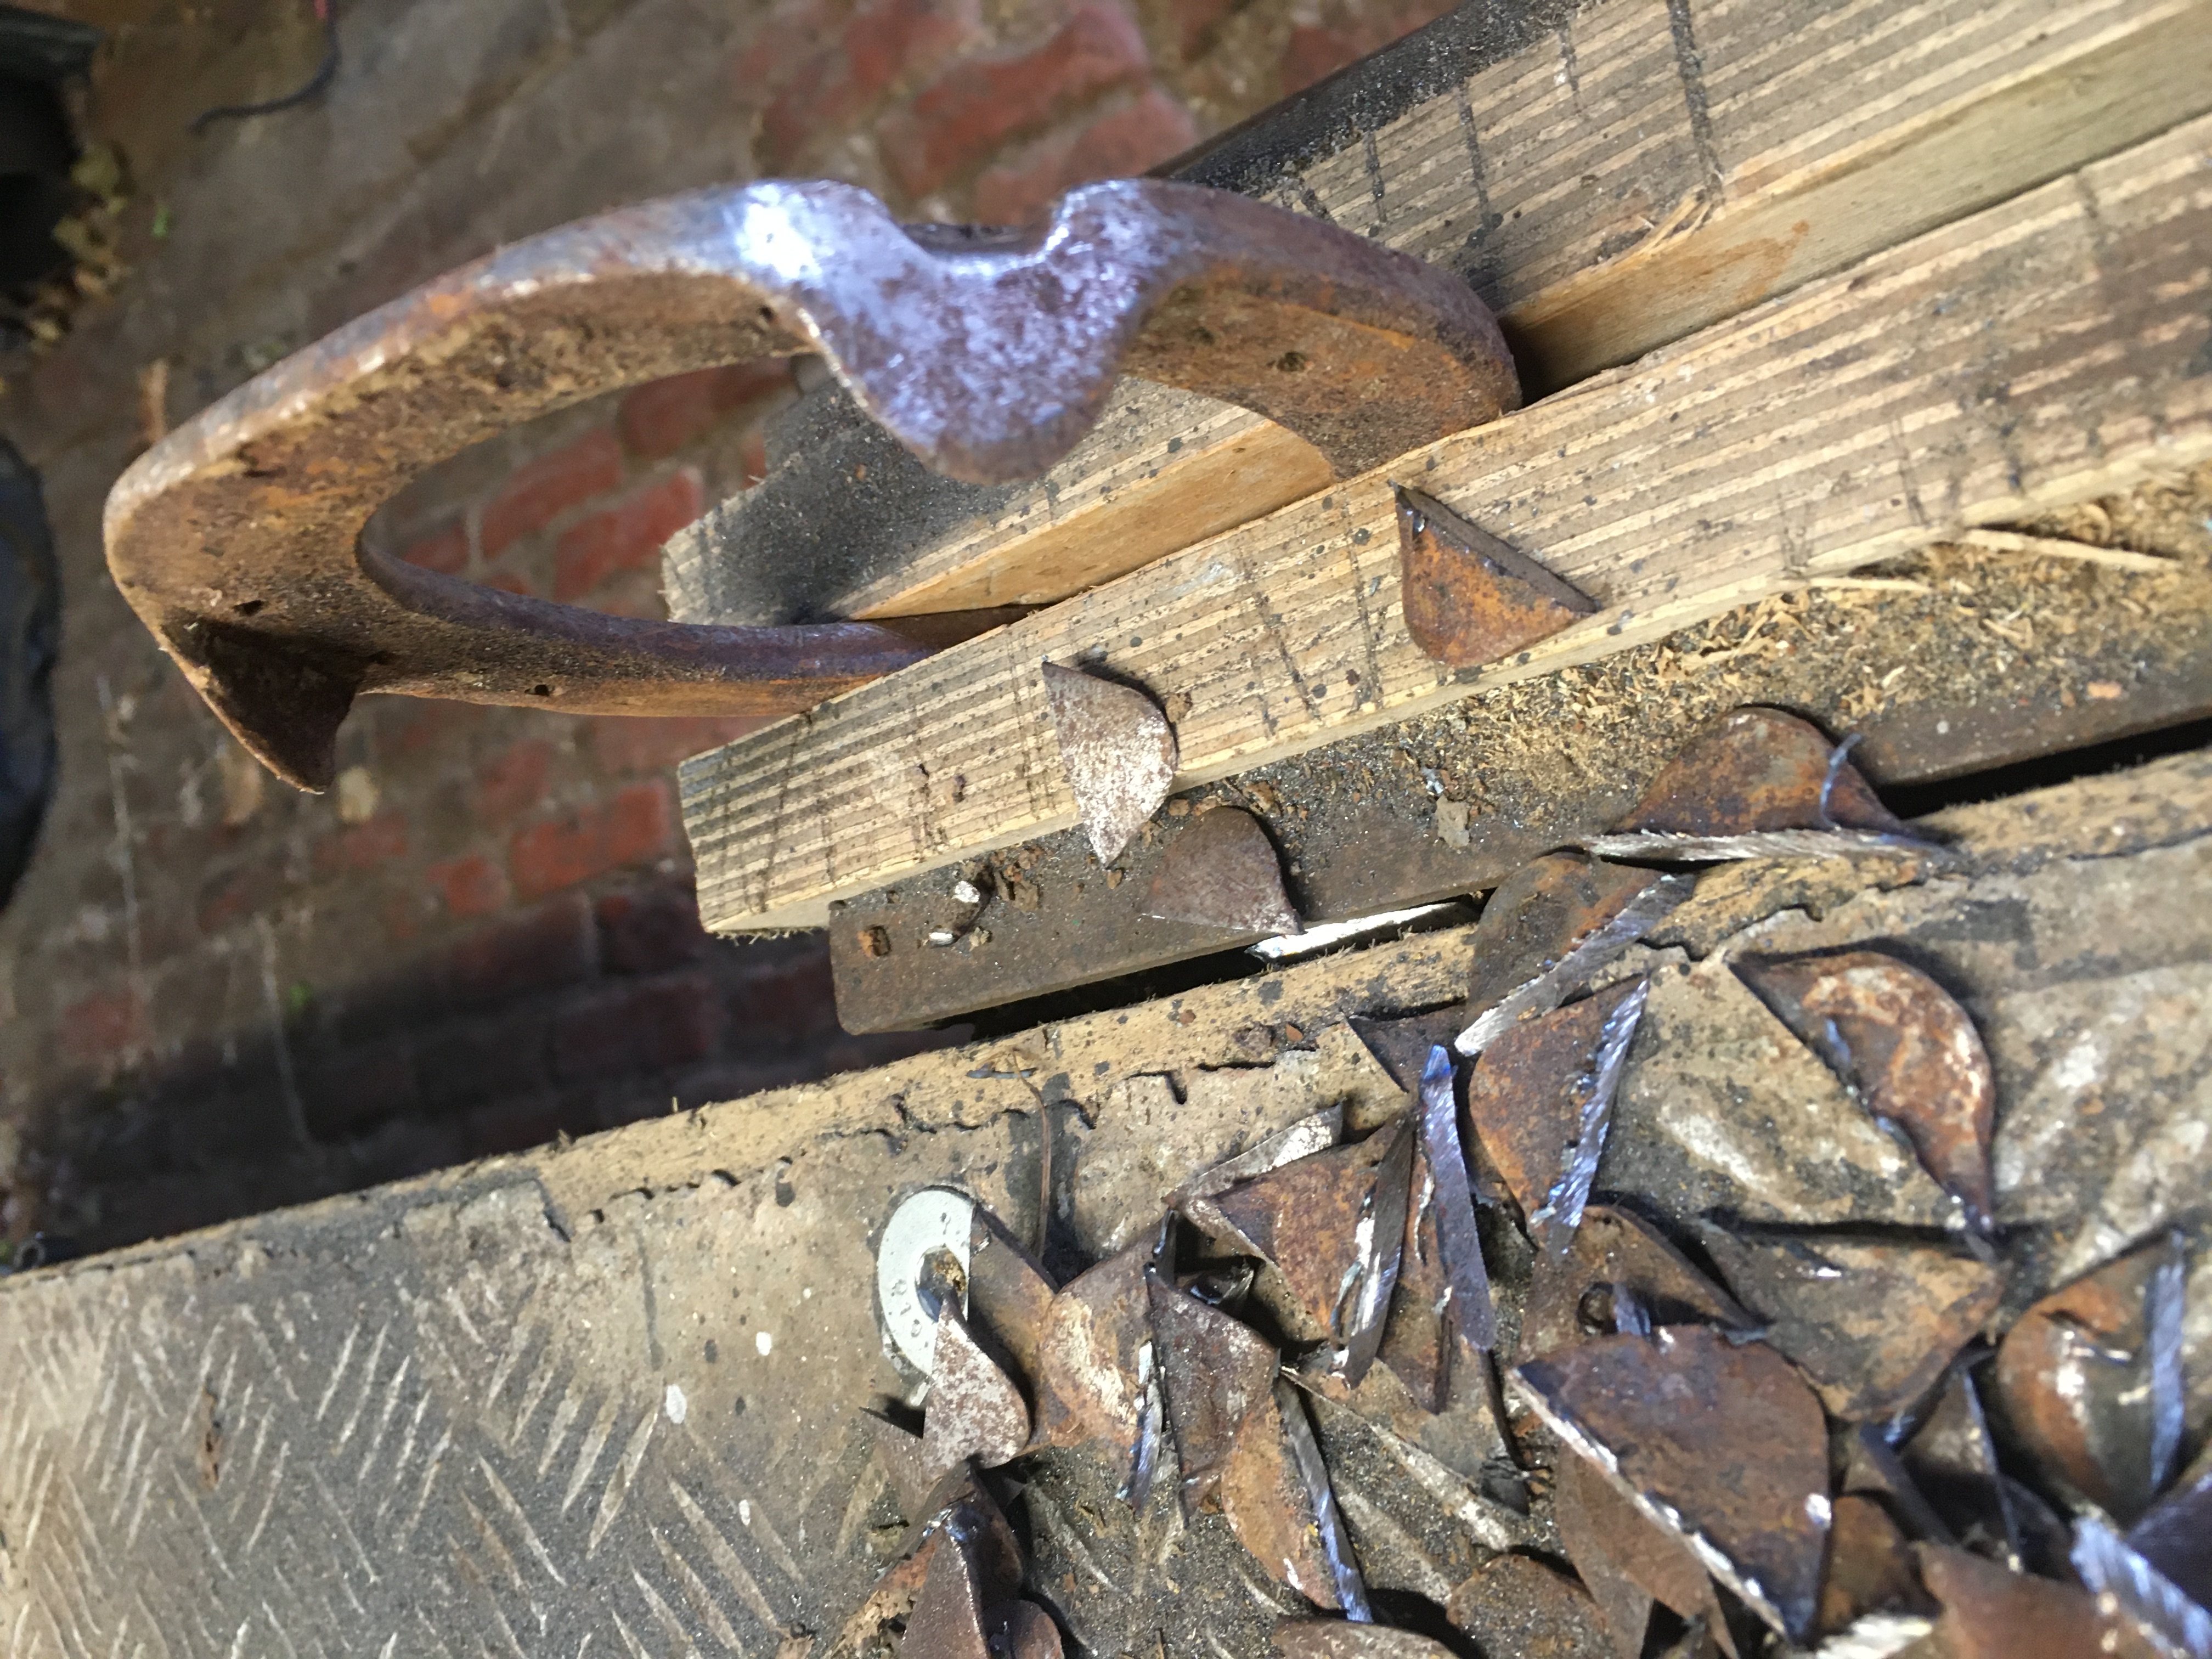
These could be left on but I felt they would be better removed to help with future cleaning, painting and maintenance and to reduce the number of little pockets for water to collect on the gate and rust to develop.
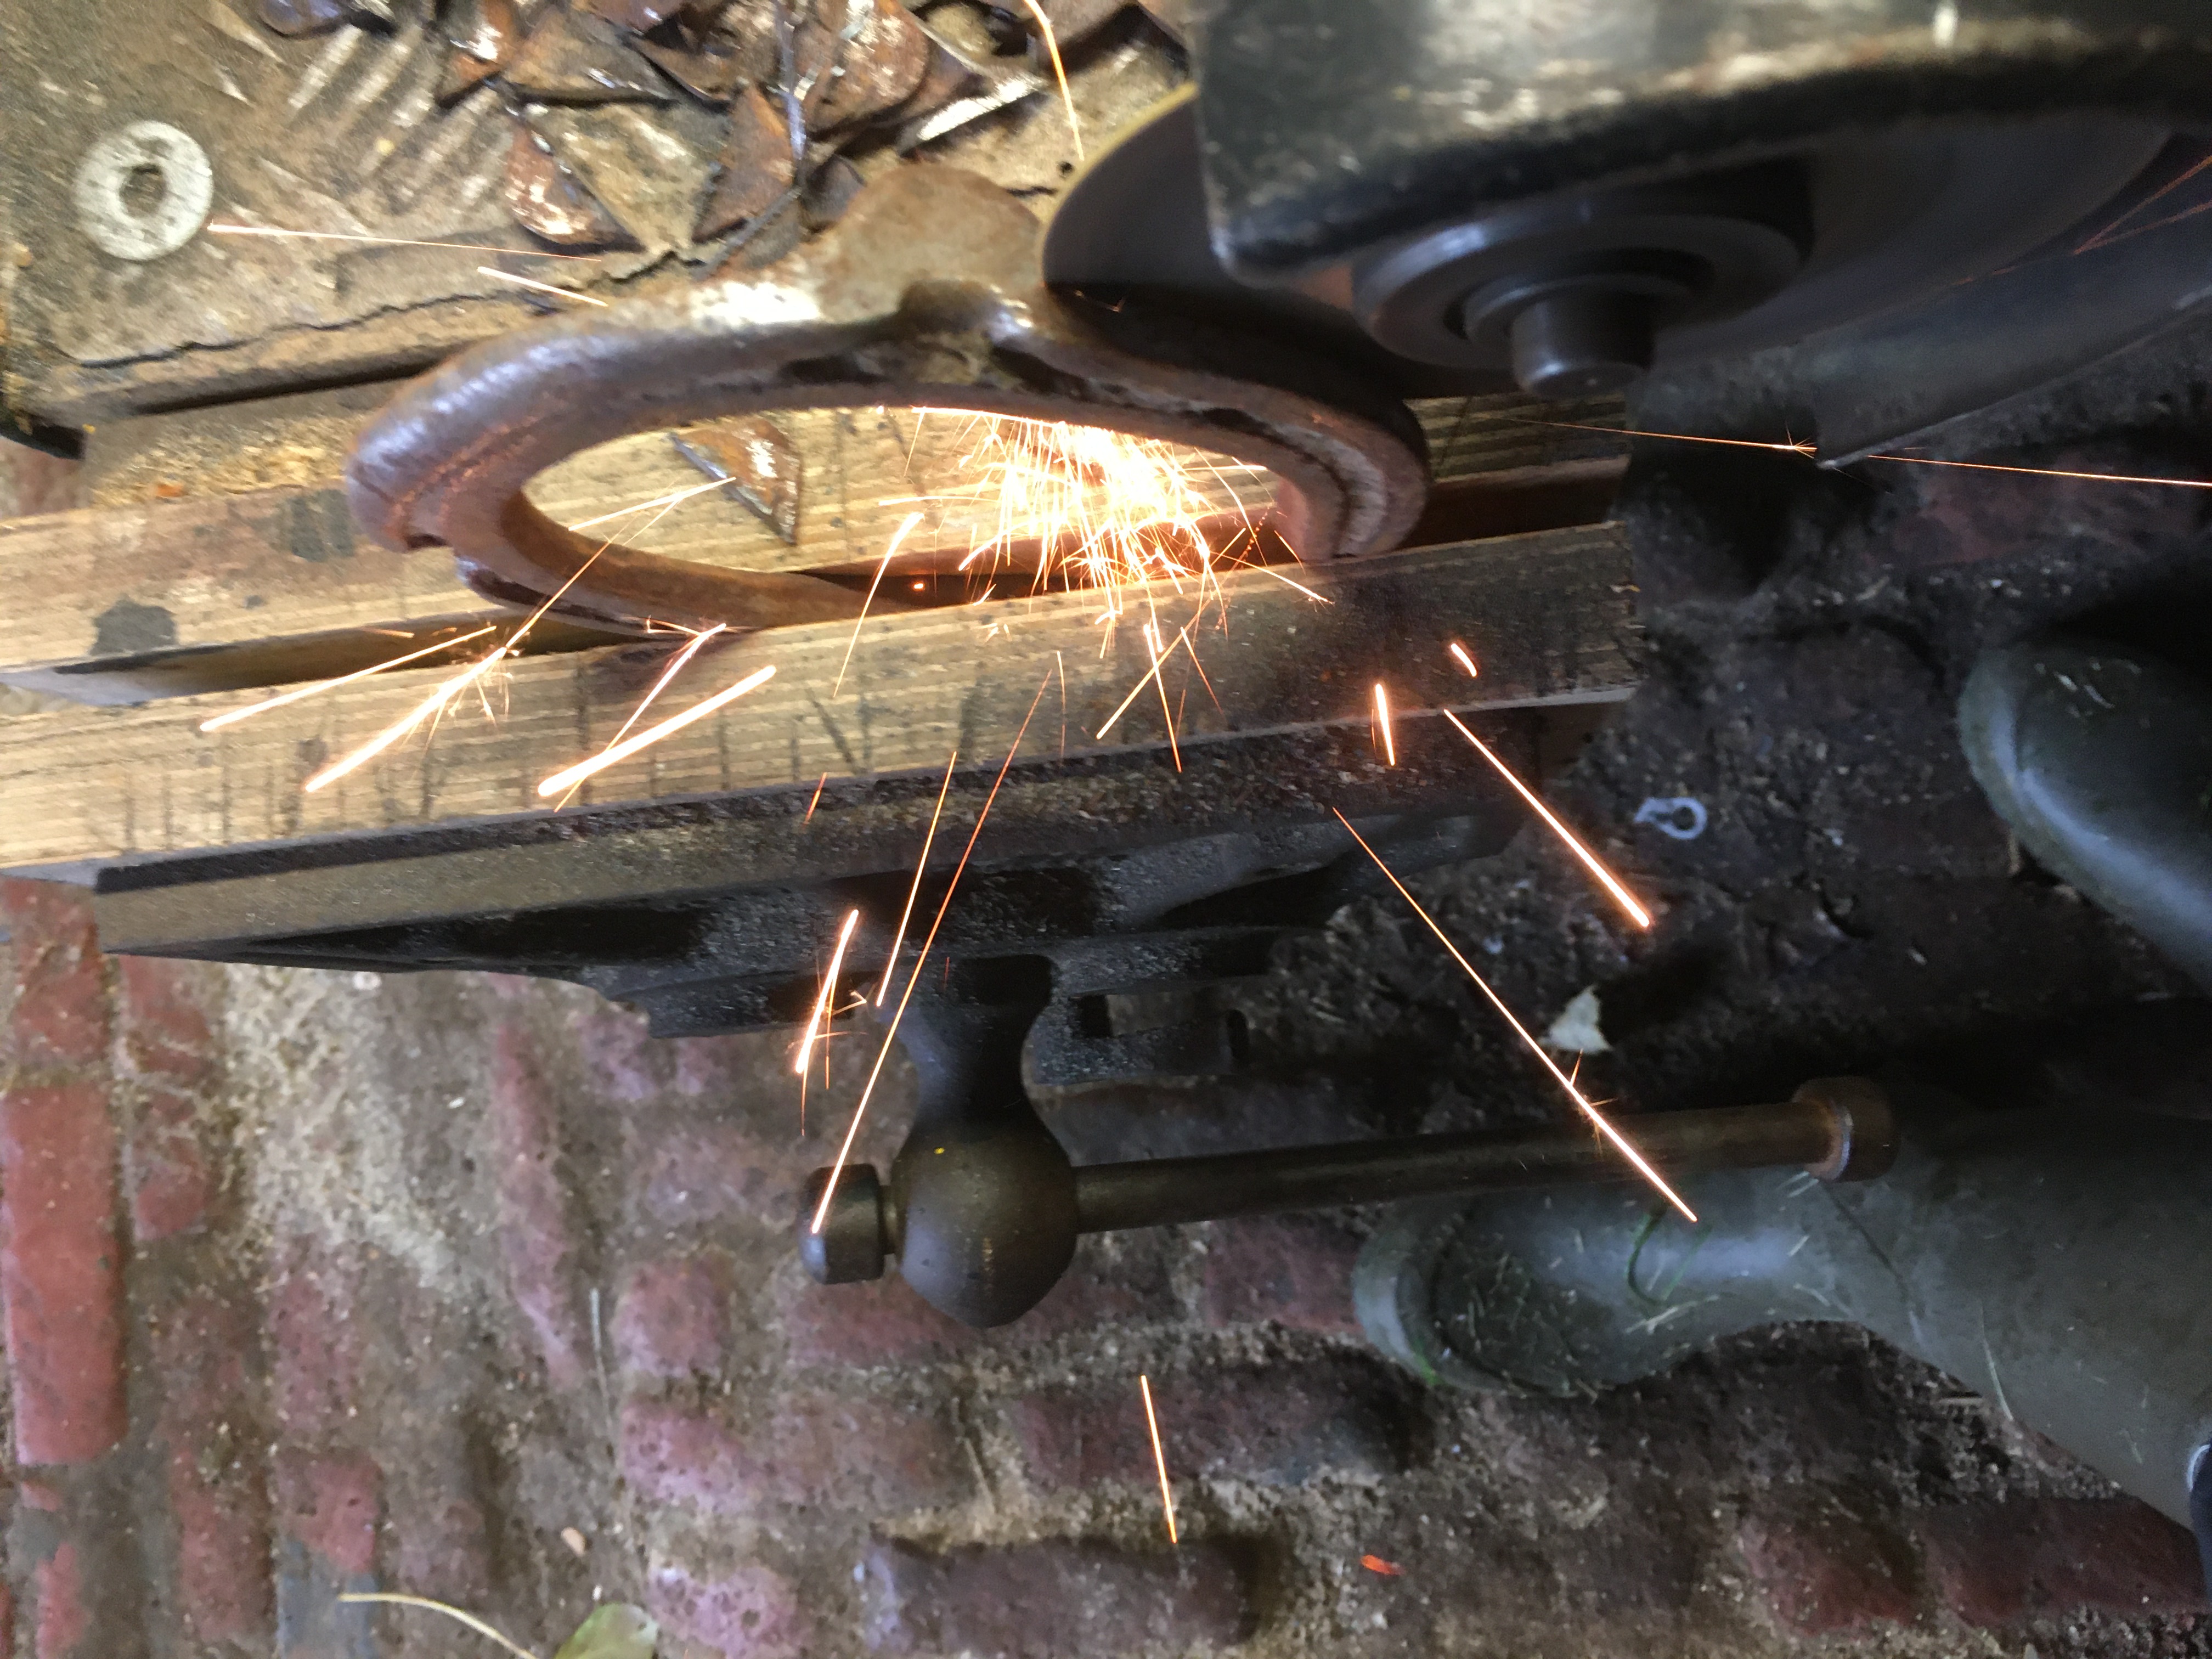
Taking the shoes from my pattern, one at a time, so they went back in the same position, I cut the clips off. The easiest way I found to do this was to use my little angle grinder and with a thin 1mm metal cutting disc. A bit time consuming but not too much trouble.
Next stage... welding up!